


When it comes to home maintenance, it’s often the small tasks that have the most significant impact. One such task is caulking your bathroom. Regularly caulking your bathroom can save you thousands of dollars on mold remediation and other repairs. Here’s why and how often you should do it.
Why Regular Caulking is Essential
Bathrooms are exposed to a lot of moisture, which creates the perfect environment for mold and mildew to thrive. Over time, the caulk around your tub, shower, and sink can deteriorate, allowing water to seep into walls and floors. This hidden moisture can lead to mold growth, which is not only a health hazard but also an expensive problem to fix.
Key Benefits of Regular Caulking:
- Prevents Water Damage: By sealing gaps and cracks, caulking keeps water from seeping into areas where it shouldn’t be.
- Stops Mold Growth: Mold thrives in damp environments. Proper caulking helps keep your bathroom dry, reducing the risk of mold.
- Saves Money: Preventing water damage and mold growth means avoiding costly remediation and repairs down the line.
How Often Should You Caulk Your Bathroom?
The frequency of caulking depends on several factors, including the quality of the caulk used and the amount of use your bathroom gets. However, a good rule of thumb is to inspect your bathroom caulk every six months and re-caulk as needed. Here are some signs that it’s time to re-caulk:
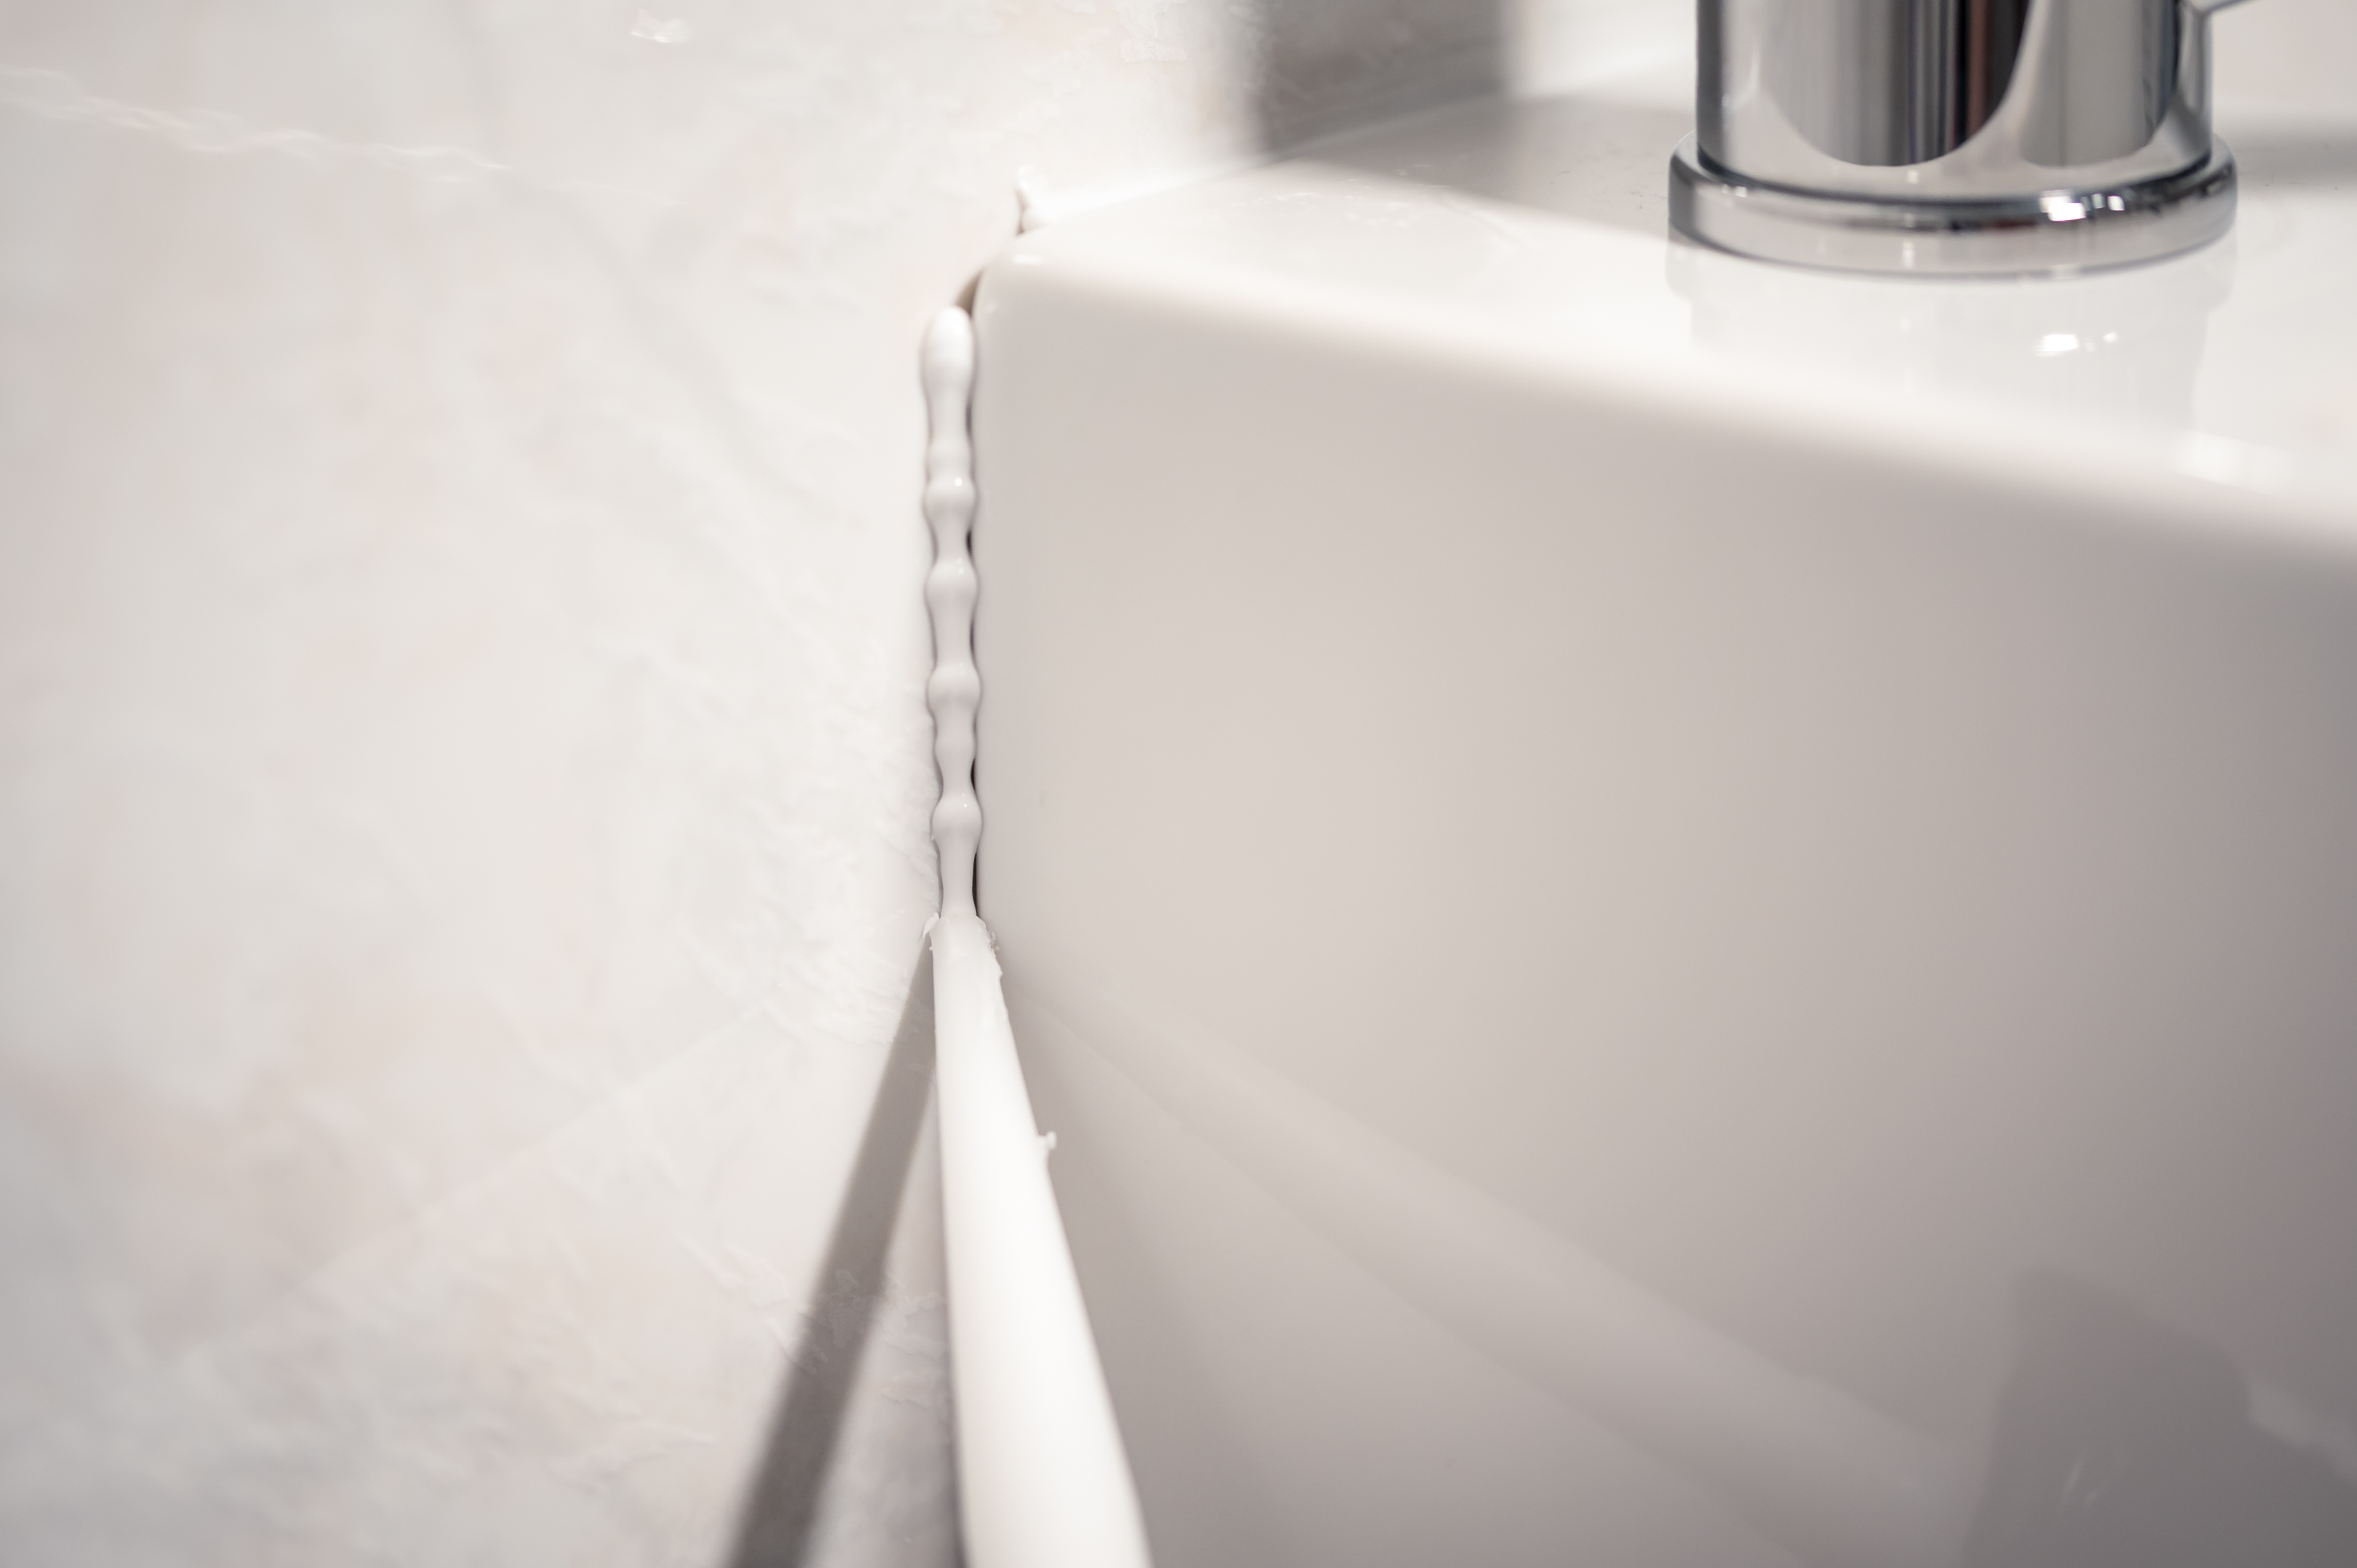
- Cracks or Gaps: If you notice any cracks or gaps in the caulk, it’s time to reapply.
- Discoloration or Mold: Any discoloration or signs of mold in the caulk indicate it’s no longer providing an adequate seal.
- Peeling or Pulling Away: If the caulk is peeling away from the surface or pulling away from the edges, it’s time for a new application.
Step-by-Step Guide to Caulking Your Bathroom
1. Gather Your Materials:
- Caulk (choose a mold-resistant type specifically for bathrooms)
- Caulking gun
- Utility knife
- Caulk remover (if needed)
- Cleaning supplies (mild detergent, water, and a sponge)
2. Remove Old Caulk:
- Use a utility knife or caulk remover to carefully remove the old caulk.
- Clean the area thoroughly to remove any residue, mold, or mildew.
3. Prepare the Surface:
- Ensure the surface is completely dry before applying new caulk.
- Use painter’s tape to create clean, straight lines if desired.
4. Apply New Caulk:
- Cut the tip of the caulk tube at a 45-degree angle.
- Use the caulking gun to apply a steady, even bead of caulk along the seams.
- Smooth the caulk with a damp finger or a caulk smoothing tool.
5. Allow to Dry:
- Let the caulk dry according to the manufacturer’s instructions, typically 24 hours.
Final Thoughts
By taking the time to regularly inspect and reapply caulk in your bathroom, you can prevent moisture from causing significant damage. This simple, inexpensive maintenance task can save you from the costly and stressful experience of mold remediation. Keep your bathroom looking great and functioning properly by making regular caulking a part of your home maintenance routine.
Remember, a little bit of prevention goes a long way in maintaining the value and safety of your home. Happy caulking!
For more home maintenance tips and real estate advice, reach out! We’re here to help you keep your home in top shape!